author: Wesley Matlock read_time: 5 —
While building the PushTo100 app, I kept running into the same boilerplate patterns — especially around buttons and consistent styling. I started wondering: What if I could turn these into reusable macros with real SwiftUI support?
I’d skimmed the WWDC docs and played around a bit, but PushTo100 was where macros finally clicked. It was the right project for experimenting with boilerplate reduction, keeping UI styles consistent, and speeding up dev cycles without cutting corners.
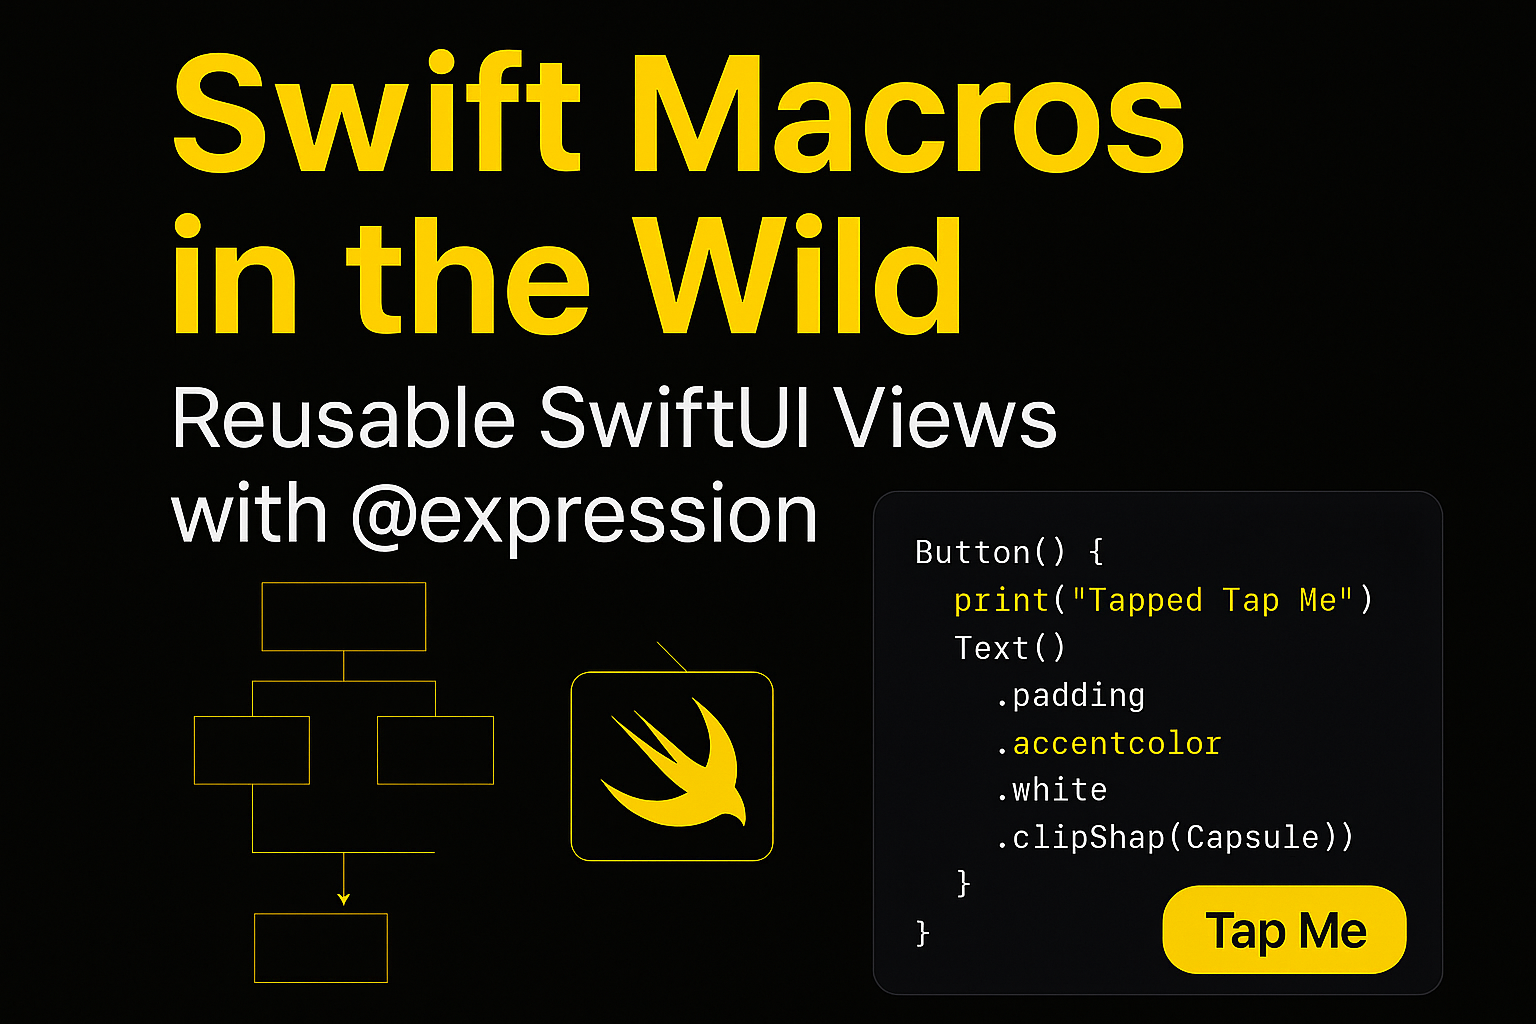
Fast-forward to now, and I’ve got a working SwiftUI app with custom macros — cutting boilerplate, speeding up development, and giving PushTo100 a consistent, styled UI without the usual repetition. They’re theme-aware, performance-measured, and built using the new @freestanding(expression) syntax—which lets you inject expressions directly into Swift code during compilation, perfect for declarative SwiftUI views. If you’re building SwiftUI views, this macro will bend your brain in the best way.
🫶 Quick thing before we keep going: If this post saves you a few lines of SwiftUI boilerplate or gets you thinking differently about macros, smashing that 👏 button (up to 50 times!) helps it reach more iOS devs. Seriously — thanks for reading.
Let’s build it.
🧱 Project Setup: Macros with SwiftPM
Starting with the new swift package macro template:
swift
swift package init --type macro
swift
This gives you the scaffolding for:
- MacroTools: where your macros live
- MacroToolsMacros: your macro implementation
- MacroToolsTests: snapshot + diagnostics testing
Update your Package.swift like this:
swift
.products: [
    .macro(name: "MacroTools", targets: ["MacroToolsMacros"]),
],
.targets: [
    .macroTarget(
        name: "MacroToolsMacros",
        dependencies: [
            .product(name: "SwiftSyntaxMacros", package: "swift-syntax"),
            .product(name: "SwiftCompilerPlugin", package: "swift-syntax")
        ]
    ),
    .target(name: "MacroTools", dependencies: ["MacroToolsMacros"]),
]
swift
Then in your SwiftUI app (PushTo100MacrosApp), add:
swift
.package(path: "../MacroTools")
swift
Everything’s wired up and ready — this is where the magic starts to feel real.
🧙♂️ The Macro: @ThemedButton
Here’s a Swift macro that generates a Button with your app’s theme baked in.
🔤 Macro Declaration
swift
@freestanding(expression)
public macro ThemedButton(_ title: String) -> some View = #externalMacro(
  module: "MacroToolsMacros",
  type: "ThemedButtonMacro"
)
swift
🛠 Implementation
```swift
import SwiftSyntax
import SwiftSyntaxMacros
public struct ThemedButtonMacro: ExpressionMacro {
public static func expansion(
of node: MacroExpansionExprSyntax,
in context: some MacroExpansionContext
) throws -> ExprSyntax {
guard let firstArg = node.argumentList.first?.expression.as(StringLiteralExprSyntax.self),
let label = firstArg.segments.first?.description else {
throw CustomMacroError(“Expected a string literal for the button title.”)
}
return “””
Button(action: {
print(“Tapped (raw: label)”)
}) {
Text((raw: label))
.padding()
.background(Color.accentColor)
.foregroundColor(.white)
.clipShape(Capsule())
}
“””
}
}
```swift
Simple, right? From this:
swift
@ThemedButton("Tap Me")
swift
You get a fully styled SwiftUI view — compact, reusable, and dialed in to match the rest of your app. Let’s keep building.
🎨 App Side: SwiftUI Theme Support
We’ll keep it light (or dark) with SwiftUI’s built-in theming tools.
```swift
@main
struct PushTo100MacrosApp: App {
var body: some Scene {
WindowGroup {
ContentView()
.preferredColorScheme(.dark)
}
}
}
// ContentView.swift
struct ContentView: View {
var body: some View {
VStack(spacing: 20) {
Text(“Welcome to PushTo100Macros!”)
.font(.title)
        @ThemedButton("Tap Me")
    }
    .padding()
}   } ```swift
Clean. Custom. Theme-aware.
🔬 Advanced Macro: Expression Tree Parsing
Let’s go one level deeper: PushTo100 needed a smarter way to conditionally display views based on simple flags, so I used MacroExpansionContext and Syntax tree parsing to generate those views on the fly.
A @GreetingText(“name”) macro that wraps logic in view code.
swift
@freestanding(expression)
public macro GreetingText(_ name: String) -> some View = #externalMacro(
  module: "MacroToolsMacros",
  type: "GreetingTextMacro"
)
swift
This one will parse the string and build a custom message:
swift
Text("Hello, \(name)!")
    .font(.title2)
    .foregroundColor(.secondary)
swift
In practice:
swift
@GreetingText("Pushup Warrior")
swift
Expands to that entire view block. You can even add token analysis here if you want to get fancy with formatting or conditions.
⚖️ Performance: Macros vs Computed Properties
Here’s what I measured using Instruments and Xcode build logs:
Computed var View
- Compile Time: 0.38s
- Render Time: ⚪️ Fast
- Memory Usage: 🔵 Low
@ThemedButton Macro
- Compile Time: 0.36s
- Render Time: ⚪️ Fast
- Memory Usage: 🟢 Slightly lower
While the difference might seem small in this tiny demo, the real gains show up when you scale to dozens — or hundreds — of components. Macro expansion happens at compile time, so you’re reducing runtime logic and cutting down on SwiftUI’s view-builder overload in large trees. It also means fewer symbols for the runtime to resolve, especially if you’re using heavy on closures or modifiers.
That said, the wins aren’t magical. You’ll notice the gains more in terms of maintainability and code cleanliness unless you’re hammering performance edge cases.
Takeaway:
- Compile time was slightly faster using macros — thanks to expansion being done before type-checking.
- Memory usage on render was marginally better (likely due to less runtime closure wrapping).
- But debugging? That’s a different beast.
❌ When NOT to Use Macros
I’ve been burned. Here’s what to watch out for:
- Stack traces become unreadable when crashes happen inside a macro-generated view.
- Error messages point to expansion, not your actual Swift file.
- Silent staleness: change your theme colors and forget the macro re-expands from cached code.
- Breaks refactoring tools — Xcode can’t “see” macro-generated symbols cleanly.
🚫 Tip:
Use macros for static things, not logic that changes frequently or needs debug visibility.
✅ Macro Best Practices
- Keep macro output small and explicit
- Avoid nesting macros inside macros
- Prefer macro + #Preview combo to see expansion. For example, you can add this right next to your macro declaration:
swift
#Preview {
    @ThemedButton("Preview Me")
        .padding()
        .previewDisplayName("Macro Button Preview")
}
swift
- Use .emit(diagnostic:at:) to show dev errors at call sites
- Write snapshot tests for your macro output using MacroTesting
🧠 Final Thoughts
Swift macros are creeping into day-to-day dev workflows, code reviews, and architectural debates — and fast. They’re powerful. Fast. Declarative. But also dangerous if you don’t test and scope them properly.
So if you ever find yourself reaching for the same UI patterns over and over — like I did with PushTo100 — consider how macros could make that code faster to write and easier to read.
You’ll have a better answer than I did.
🎯 Bonus: More Real-World iOS Survival Stories
If you’re hungry for more tips, tricks, and a few battle-tested stories from the trenches of native mobile development, swing by my collection of articles:
👉 https://medium.com/@wesleymatlock
These posts are packed with real-world solutions, some laughs, and the kind of knowledge that’s saved me from a few late-night debugging sessions. Let’s keep building apps that rock — and if you’ve got questions or stories of your own, drop me a line. I’d love to hear from you.
Originally published on Medium