SwiftUI offers a powerful and flexible way to handle user interactions through gestures. In this blog post, we’ll dive deep into two common…
Mastering Gestures in SwiftUI: Advanced Techniques for TapGesture
SwiftUI offers a powerful and flexible way to handle user interactions through gestures. In this blog post, we’ll dive deep into two common gestures: TapGesture and SpatialGesture. We’ll cover their implementation, customization, and practical tips and tricks to make the most out of these gestures. We’ll also include sample code with unit tests to ensure your gesture handling is robust and reliable.
Table of Contents
-
Introduction to Gestures in SwiftUI
-
Implementing TapGesture
-
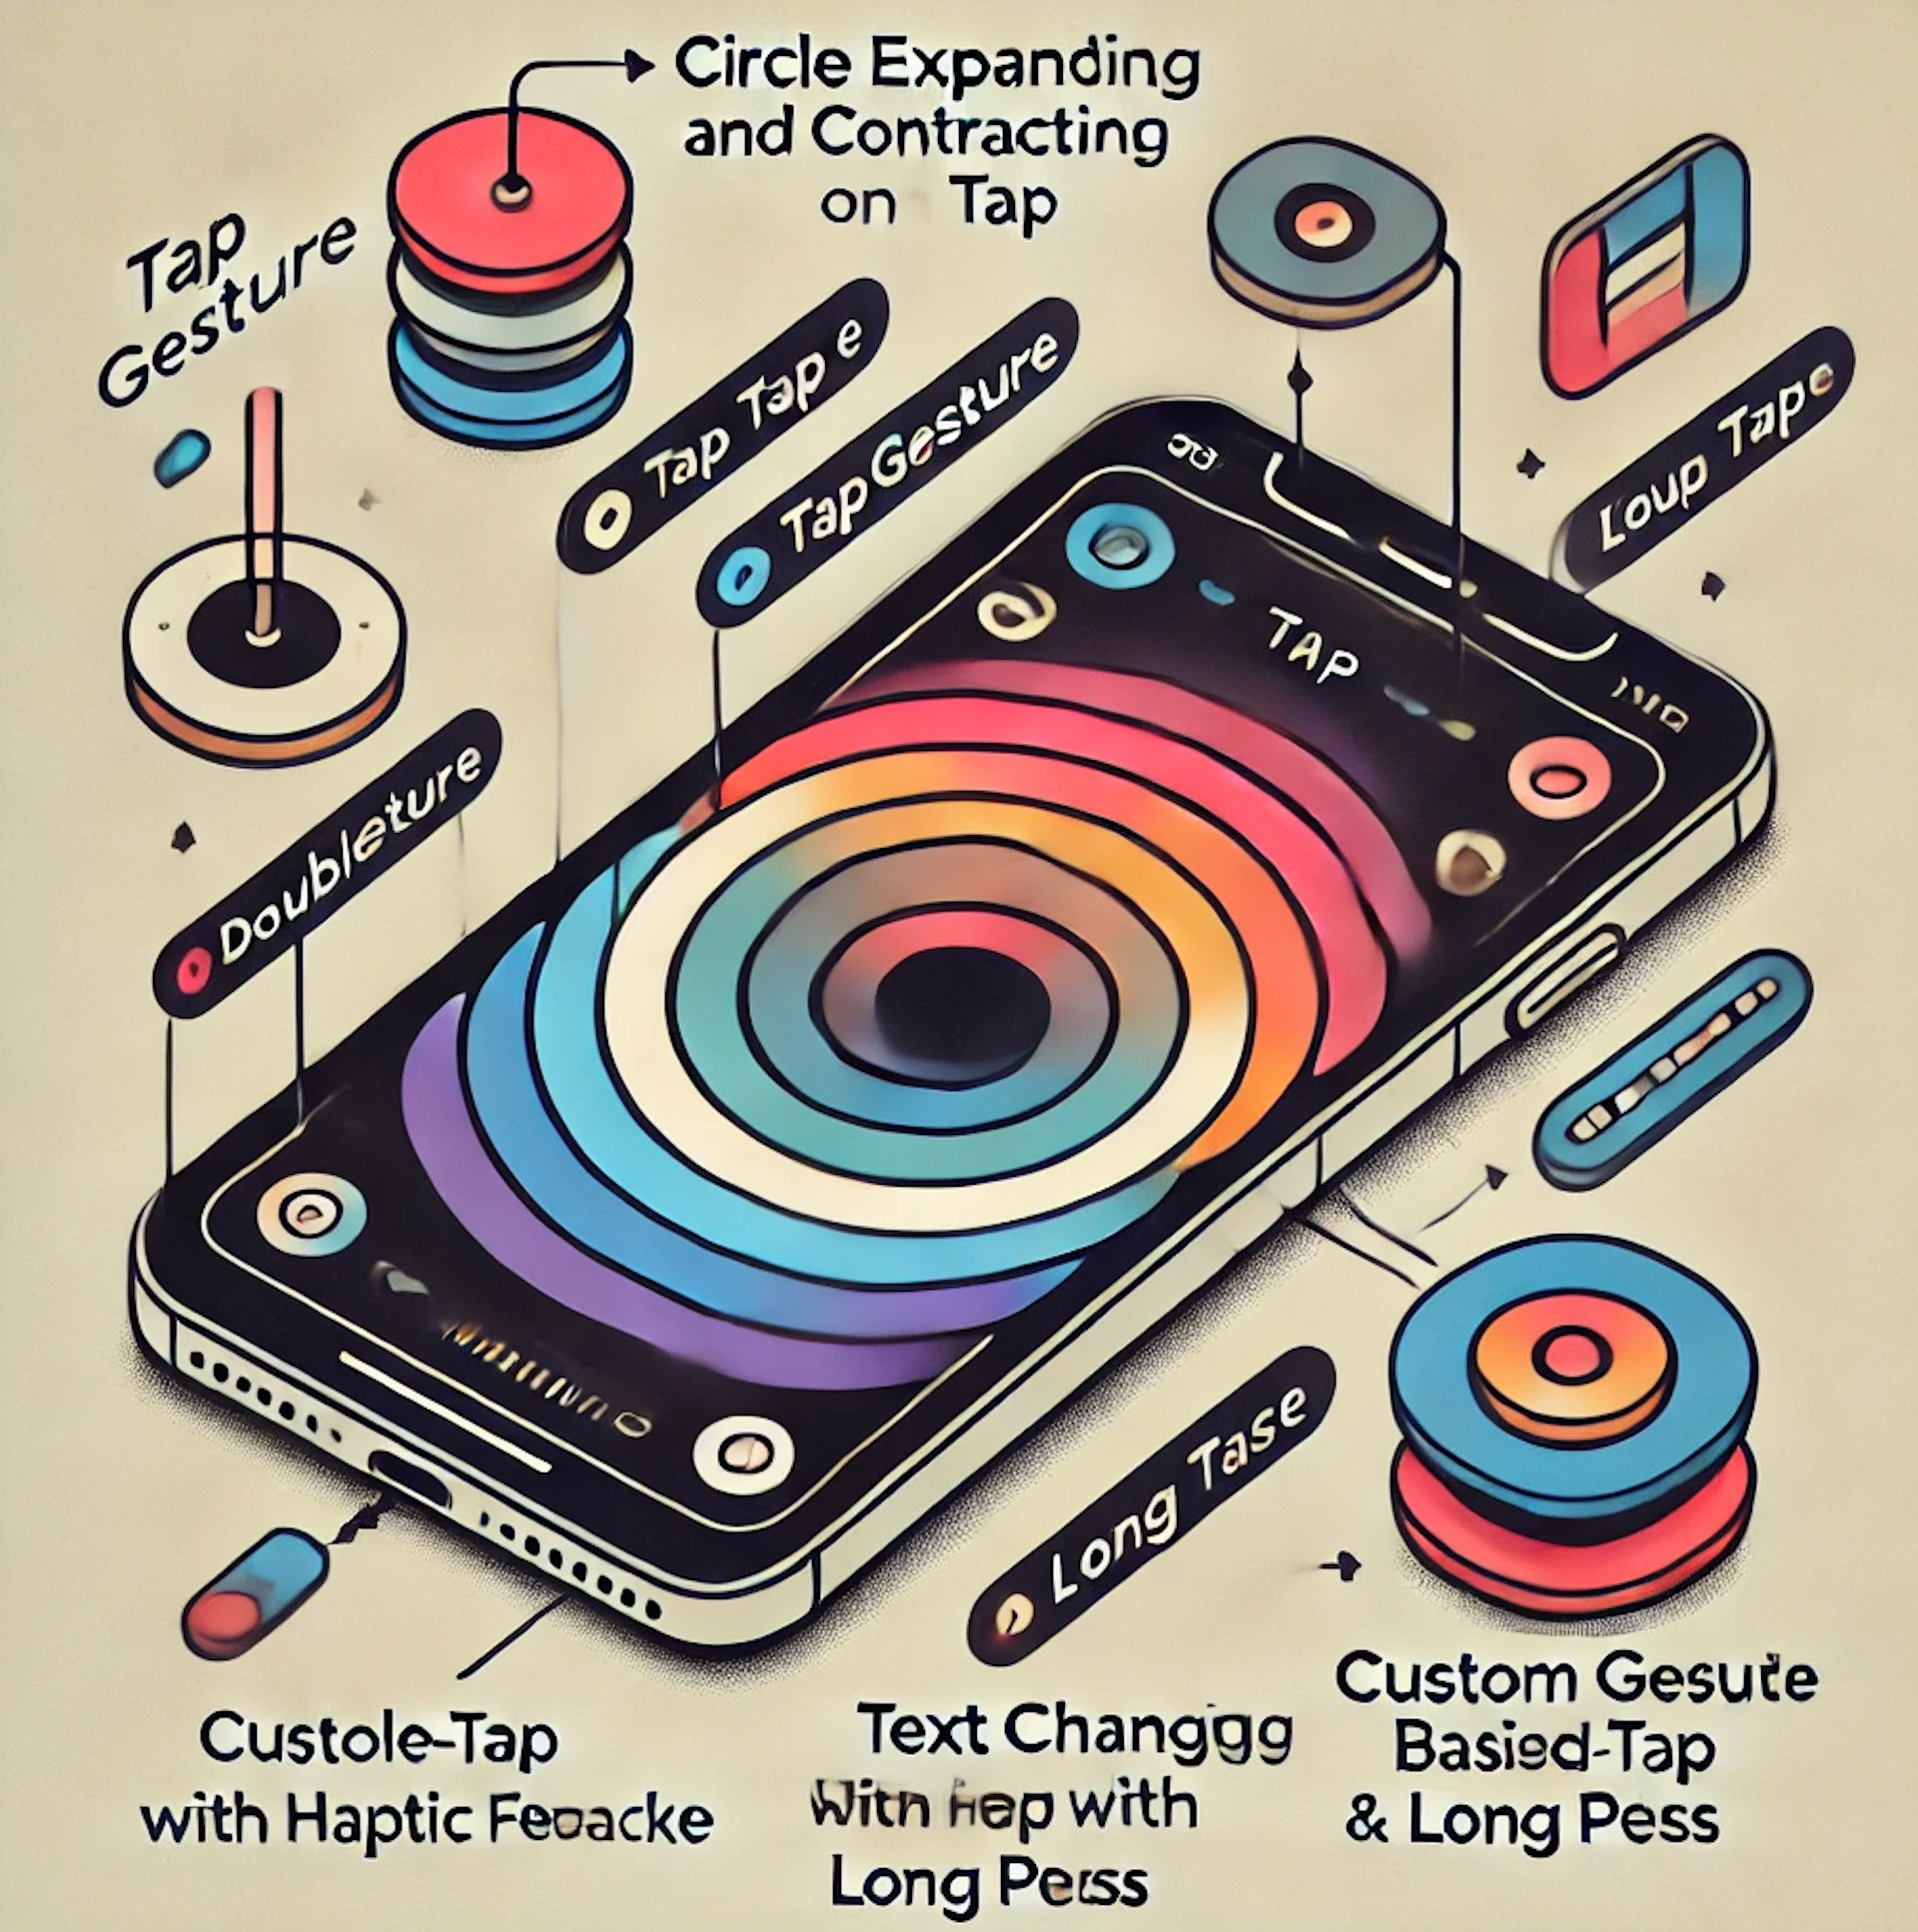
Advanced TapGesture Customization
-
Tips and Tricks for Gesture Handling
-
Conclusion
1. Introduction to Gestures in SwiftUI
Gestures are an integral part of modern app development, enabling intuitive user interactions. SwiftUI provides a declarative syntax to easily add gesture recognizers to your views. This blog focuses on two essential gestures: TapGesture, which detects taps, and SpatialGesture, which handles 3D spatial interactions.
2. Implementing TapGesture
TapGesture is straightforward to implement and is often used for triggering actions on single or multiple taps.
Basic Implementation:
import SwiftUI
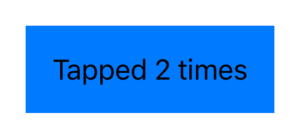
struct TapGestureView: View {
@State private var tapCount = 0
var body: some View {
Text("Tapped \(tapCount) times")
.padding()
.onTapGesture {
tapCount += 1
}
}
}
Handling Multiple Taps:
.onTapGesture(count: 2) {
    print("Double tapped!")
}

3. Advanced TapGesture Customization
To create more complex interactions, you can combine gestures with other SwiftUI modifiers. This section explores how to use TapGesture with various SwiftUI features to enhance user interactions.
Combining TapGesture with Animation
One of the most common uses of gestures is to trigger animations. By combining TapGesture with animation modifiers, you can create dynamic and engaging user interfaces.
Example: Animating a View on Tap
import SwiftUI

struct AnimatedTapView: View {
    @State private var scale: CGFloat = 1.0

    var body: some View {
        Circle()
            .frame(width: 100, height: 100)
            .scaleEffect(scale)
            .onTapGesture {
                withAnimation(.spring()) {
                    scale = scale == 1.0 ? 1.5 : 1.0
                }
            }
    }
}
In this example, tapping the circle toggles its scale between 1.0 and 1.5 using a spring animation, making the interaction more visually appealing.


TapGesture with Haptic Feedback
Adding haptic feedback to gestures can make interactions feel more responsive and tactile. SwiftUI allows you to trigger haptic feedback in response to gestures.
Example: Adding Haptic Feedback on Tap
import SwiftUI

struct HapticTapView: View {
    @State private var tapCount = 0
    let generator = UIImpactFeedbackGenerator(style: .medium)

    var body: some View {
        Text("Tapped \(tapCount) times")
            .padding()
            .onTapGesture {
                tapCount += 1
                generator.impactOccurred()
            }
    }
}
In this example, each tap increases the tap count and triggers a medium impact haptic feedback, enhancing the user experience.
TapGesture with Conditional Logic
Sometimes you need to execute different actions based on specific conditions when a gesture is recognized. This can be achieved by combining TapGesture with conditional logic.
Example: Conditional Actions on Tap
import SwiftUI

struct ConditionalTapView: View {
    @State private var tapCount = 0

    var body: some View {
        Text("Tapped \(tapCount) times")
            .padding()
            .onTapGesture {
                if tapCount < 5 {
                    tapCount += 1
                } else {
                    tapCount = 0
                }
            }
    }
}
In this example, the tap count increases up to 5, after which it resets to 0, demonstrating how to perform different actions based on the state.


Custom Tap Gesture Recognizers
SwiftUI allows you to create custom gesture recognizers by combining TapGesture with other gestures and modifiers.
Example: Custom Double Tap with Long Press
import SwiftUI

struct CustomGestureView: View {
    @State private var color: Color = .blue

    var body: some View {
        Rectangle()
            .fill(color)
            .frame(width: 100, height: 100)
            .gesture(
                TapGesture(count: 2)
                    .simultaneously(
                        with: LongPressGesture(minimumDuration: 0.5)
                    )
                    .onEnded { _ in
                        withAnimation {
                            color = color == .blue ? .green : .blue
                        }
                    }
            )
    }
}
In this example, a double tap combined with a long press changes the rectangle’s color, illustrating how to create custom gesture recognizers by combining multiple gestures.


TapGesture with State Binding
Binding state changes to gestures can create interactive views that respond dynamically to user input.
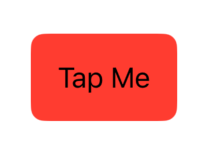
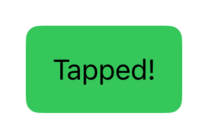
Example: Changing Text and Background Color on Tap
import SwiftUI

struct InteractiveTapView: View {
    @State private var tapped = false

    var body: some View {
        Text(tapped ? "Tapped!" : "Tap Me")
            .padding()
            .background(tapped ? Color.green : Color.red)
            .cornerRadius(8)
            .onTapGesture {
                withAnimation {
                    tapped.toggle()
                }
            }
    }
}
In this example, the text and background color change based on the tap state, demonstrating how to use state bindings with TapGesture to create interactive views.
Combining TapGesture with other SwiftUI modifiers allows you to create complex and engaging user interactions. Whether it’s adding animations, haptic feedback, conditional logic, custom gestures, or state bindings, these techniques enhance the user experience and make your app more interactive.
4. Tips and Tricks for Gesture Handling
Combine Gestures
Combining multiple gestures on a single view can significantly enhance user interactions, allowing for more complex and intuitive interfaces. SwiftUI provides two powerful modifiers for combining gestures: .simultaneousGesture and .highPriorityGesture.
SimultaneousGesture
The .simultaneousGesture modifier allows multiple gestures to be recognized at the same time. This is useful when you want two or more gestures to work together without interfering with each other.
Example: Combining TapGesture and LongPressGesture Simultaneously
import SwiftUI

struct SimultaneousGestureView: View {
    @State private var tapCount = 0
    @State private var isLongPressed = false

    var body: some View {
        Text("Tapped \(tapCount) times")
            .padding()
            .background(isLongPressed ? Color.red : Color.blue)
            .simultaneousGesture(
                TapGesture()
                    .onEnded {
                        tapCount += 1
                    }
            )
            .simultaneousGesture(
                LongPressGesture(minimumDuration: 1.0)
                    .onEnded { _ in
                        isLongPressed.toggle()
                    }
            )
    }
}
In this example, both the tap gesture and the long press gesture are recognized simultaneously, allowing the view to respond to both gestures independently.
HighPriorityGesture
The .highPriorityGesture modifier allows a gesture to take precedence over other gestures. This is useful when you want a specific gesture to be recognized before others, effectively overriding them.
Example: Prioritizing a LongPressGesture over a TapGesture
import SwiftUI

struct HighPriorityGestureView: View {
    @State private var tapCount = 0
    @State private var isLongPressed = false

    var body: some View {
        Text("Tapped \(tapCount) times")
            .padding()
            .background(isLongPressed ? Color.red : Color.blue)
            .highPriorityGesture(
                LongPressGesture(minimumDuration: 1.0)
                    .onEnded { _ in
                        isLongPressed.toggle()
                        tapCount = 0
                    }
            )
            .onTapGesture {
                tapCount += 1
            }
    }
}
In this example, the long press gesture is given higher priority, so it will be recognized first, even if the user taps quickly. This ensures that the long press gesture can override the tap gesture.
Tips and Tricks for Combining Gestures
-
Understand Gesture Hierarchies: When combining gestures, it’s important to understand the hierarchy and order of gesture recognition. Use .simultaneousGesture when gestures should work together and .highPriorityGesture when one gesture should take precedence over others.
-
Test Gesture Interactions: Thoroughly test how combined gestures interact with each other to ensure a smooth user experience. Pay attention to edge cases where gestures might conflict or interfere with each other.
-
Provide User Feedback: Use visual or haptic feedback to inform users when a gesture is recognized. This can improve the overall user experience and make interactions more intuitive.
-
Use Gesture Modifiers Wisely: Applying too many gesture modifiers can make the code complex and harder to maintain. Use .simultaneousGesture and .highPriorityGesture judiciously to keep your code clean and maintainable.
Combining gestures in SwiftUI using .simultaneousGesture and .highPriorityGesture allows you to create sophisticated and responsive user interfaces. By understanding how to effectively ue these modifiers, you can enhance the interactivity and usability of your applications.
5. Conclusion
Gestures in SwiftUI are powerful tools for creating interactive and engaging user experiences. By mastering TapGesture and SpatialGesture, you can enhance your app’s usability and accessibility. Remember to test your gestures thoroughly to ensure they work as expected across different scenarios.
If you want to learn more about native mobile development, you can check out the other articles I have written here: https://medium.com/@wesleymatlock
🚀 Happy coding! 🚀
By Wesley Matlock on July 11, 2024.
Exported from Medium on May 10, 2025.