Managing user focus effectively is crucial for creating seamless and intuitive user experiences in any application. SwiftUI offers a…
Mastering FocusState in SwiftUI: Dynamic Form Management with Advanced Features
Managing user focus effectively is crucial for creating seamless and intuitive user experiences in any application. SwiftUI offers a powerful feature called FocusState, which allows developers to manage the focus state of form inputs and other interactive elements dynamically. In this blog post, we’ll explore how to use FocusState to create a custom input form that adjusts focus based on user interaction and includes more advanced features such as conditional focus, keyboard management, and custom focus handling.
Understanding FocusState
FocusState is a property wrapper introduced in SwiftUI to help manage the focus state of views like text fields. By using FocusState, we can programmatically control which input field should be focused, making the user experience smoother, especially in forms.
Creating a Custom Input Form
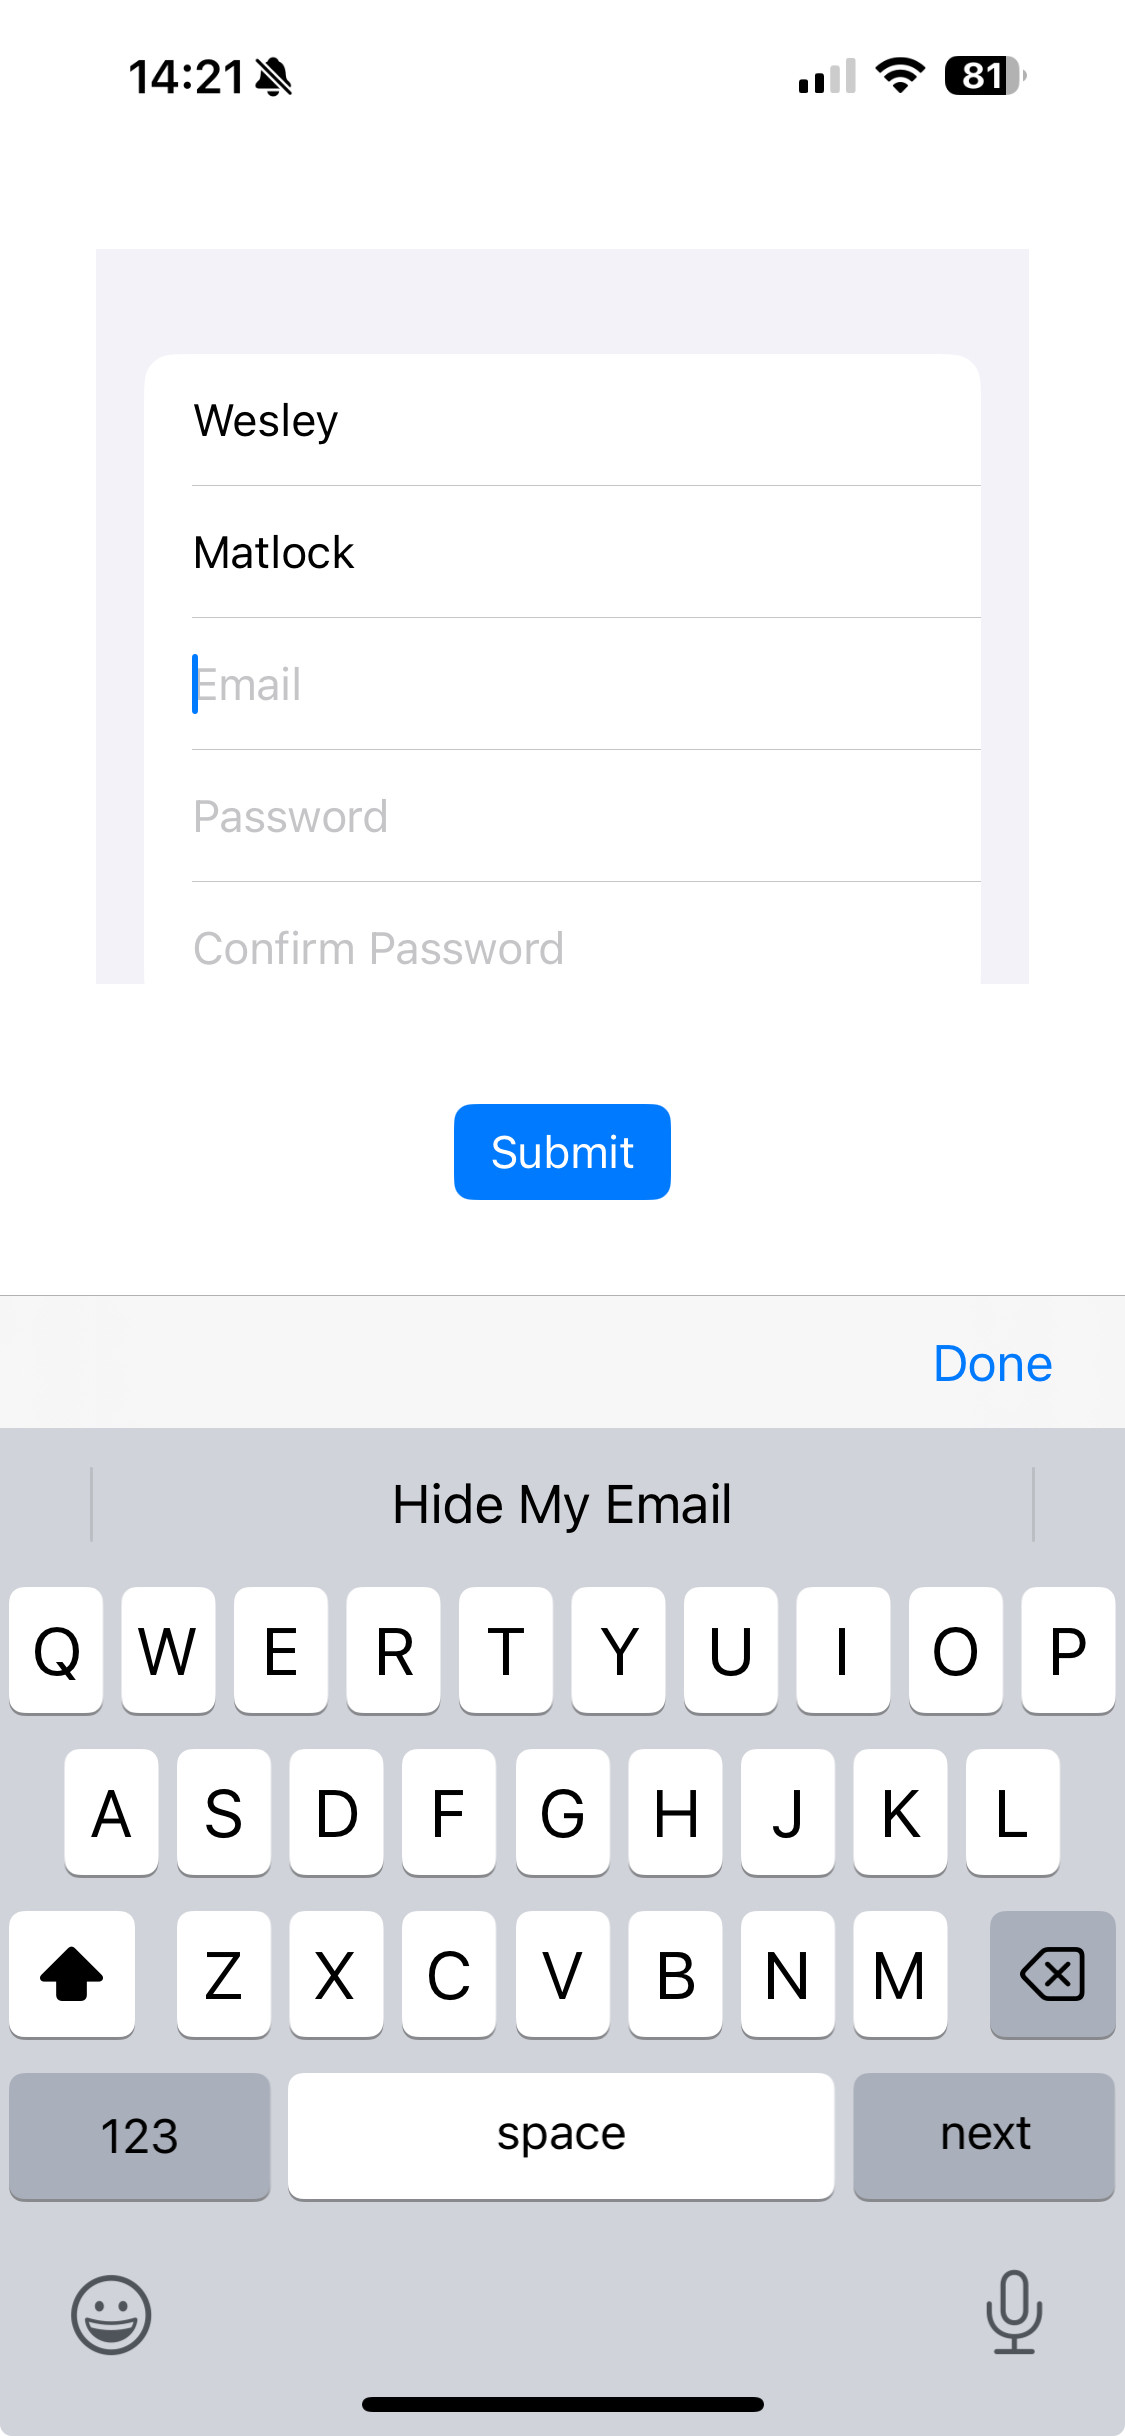
Let’s create a comprehensive form with multiple text fields that dynamically changes focus based on user input. We’ll incorporate advanced features such as conditional focus, keyboard dismissal, and custom focus logic.
Step-by-Step Implementation
1. Define the Form Fields and Focus States:
First, define an enumeration representing the different form fields. Then, create a struct for the form state and the focus state.
import SwiftUI

enum FormField: Hashable {
    case firstName
    case lastName
    case email
    case password
    case confirmPassword
}

struct FormState {
    var firstName: String = ""
    var lastName: String = ""
    var email: String = ""
    var password: String = ""
    var confirmPassword: String = ""
}
2. Create the Form View:
Now, let’s create the view containing the form fields. We’ll use the @FocusState property wrapper to manage the focus state and add more advanced features.
struct CustomFormView: View {
    @State private var formState = FormState()
    @FocusState private var focusedField: FormField?

    var body: some View {
        VStack {
            Form {
                TextField("First Name", text: $formState.firstName)
                    .focused($focusedField, equals: .firstName)
                    .onSubmit {
                        focusedField = .lastName
                    }
                    .submitLabel(.next)

                TextField("Last Name", text: $formState.lastName)
                    .focused($focusedField, equals: .lastName)
                    .onSubmit {
                        focusedField = .email
                    }
                    .submitLabel(.next)

                TextField("Email", text: $formState.email)
                    .focused($focusedField, equals: .email)
                    .keyboardType(.emailAddress)
                    .onSubmit {
                        focusedField = .password
                    }
                    .submitLabel(.next)

                SecureField("Password", text: $formState.password)
                    .focused($focusedField, equals: .password)
                    .onSubmit {
                        focusedField = .confirmPassword
                    }
                    .submitLabel(.next)

                SecureField("Confirm Password", text: $formState.confirmPassword)
                    .focused($focusedField, equals: .confirmPassword)
                    .onSubmit {
                        validateForm()
                    }
                    .submitLabel(.done)
            }
            .padding()

            Button("Submit") {
                validateForm()
            }
            .padding()
            .buttonStyle(.borderedProminent)
        }
        .onTapGesture {
            // Dismiss the keyboard when tapping outside the fields
            focusedField = nil
        }
        .toolbar {
            ToolbarItemGroup(placement: .keyboard) {
                Spacer()
                Button("Done") {
                    focusedField = nil
                }
            }
        }
    }

    private func validateForm() {
        // Perform form validation and submission logic here
        guard !formState.firstName.isEmpty,
              !formState.lastName.isEmpty,
              isValidEmail(formState.email),
              formState.password == formState.confirmPassword else {
            // Show error message or handle validation failure
            return
        }

        // Handle form submission
        print("Form Submitted: \(formState)")
        focusedField = nil
    }

    private func isValidEmail(_ email: String) -> Bool {
        // Basic email validation logic
        let emailRegEx = "[A-Z0-9a-z._%+-]+@[A-Z0-9a-z.-]+\\.[A-Za-z]{2,64}"
        let emailPred = NSPredicate(format: "SELF MATCHES %@", emailRegEx)
        return emailPred.evaluate(with: email)
    }
}
3. Preview the Form View:
Finally, preview the form view in a SwiftUI preview.
#Preview {
  CustomFormView()
}
Explanation
• Focus Management: Each TextField and SecureField is associated with a specific focus state using the .focused($focusedField, equals: .formField) modifier. This ensures that when the user submits one field, the next field in the form gains focus.
• Dynamic Focus Adjustment: The onSubmit modifier is used to handle the return key action. When the user submits the current field, the focus shifts to the next field.
• Custom Keyboard Toolbar: A custom toolbar is added to the keyboard, allowing the user to dismiss the keyboard by tapping the “Done” button.
• Form Submission and Validation: The validateForm function handles form submission and validation. It checks for empty fields, valid email format, and matching passwords before proceeding with the form submission.
• Keyboard Dismissal: The onTapGesture modifier is used to dismiss the keyboard when the user taps outside the input fields.
Conclusion
Using FocusState in SwiftUI allows you to create dynamic and user-friendly forms by managing the focus state of input fields. By incorporating advanced features like conditional focus, keyboard management, and custom validation, you can enhance the user experience and create more robust forms in your SwiftUI applications.
If you want to learn more about native mobile development, you can check out the other articles I have written here: https://medium.com/@wesleymatlock
Happy coding! 🚀
By Wesley Matlock on June 18, 2024.
Exported from Medium on May 10, 2025.