SwiftUI offers a powerful way to customize and pass data up the view hierarchy using PreferenceKey. This blog post will explore how to…
Enhancing SwiftUI Views with PreferenceKey: A Comprehensive Guide

SwiftUI offers a powerful way to customize and pass data up the view hierarchy using PreferenceKey. This blog post will explore how to utilize PreferenceKey to create dynamic and responsive views in your SwiftUI applications. We’ll cover the basics of PreferenceKey, how to implement it, and provide a sample project with unit tests. We’ll also delve into advanced usage to demonstrate the full potential of PreferenceKey.
Table of Contents
-
Introduction to PreferenceKey
-
Creating a PreferenceKey
-
Using PreferenceKey in Views
-
Practical Example: Dynamic Header
-
Advanced Usage of PreferenceKey
-
Unit Testing PreferenceKey
-
Conclusion
1. Introduction to PreferenceKey
PreferenceKey is a protocol in SwiftUI that allows views to communicate data up the view hierarchy. It’s especially useful for situations where you need to pass data from a child view to a parent view.
2. Creating a PreferenceKey
To create a PreferenceKey, you need to define a struct that conforms to the PreferenceKey protocol. Here’s a simple example:
import SwiftUI

struct MyPreferenceKey: PreferenceKey {
    static var defaultValue: String = ""

    static func reduce(value: inout String, nextValue: () -> String) {
        value = nextValue()
    }
}
In this example, MyPreferenceKey has a default value of an empty string and a reduce method that updates the value.
3. Using PreferenceKey in Views
To use the PreferenceKey, you need to attach a preference to a view using the preference modifier and then read the preference in an ancestor view using the onPreferenceChange modifier.
struct ChildView: View {
    var body: some View {
        Text("Hello, SwiftUI!")
            .background(
                GeometryReader { geometry in
                    Color.clear
                        .preference(key: MyPreferenceKey.self, value: "\(geometry.size.width)")
                }
            )
    }
}

struct ParentView: View {
    @State private var width: String = ""

    var body: some View {
        VStack {
            ChildView()
            Text("Width: \(width)")
        }
        .onPreferenceChange(MyPreferenceKey.self) { value in
            self.width = value
        }
    }
}
4. Practical Example: Dynamic Header
Let’s build a more practical example where we create a dynamic header that changes its appearance based on the content below it.
import SwiftUI

struct HeaderHeightKey: PreferenceKey {
    static var defaultValue: CGFloat = 0

    static func reduce(value: inout CGFloat, nextValue: () -> CGFloat) {
        value = max(value, nextValue())
    }
}

struct ContentView: View {
    @State private var headerHeight: CGFloat = 0

    var body: some View {
        VStack {
            Text("Dynamic Header")
                .font(.largeTitle)
                .frame(height: headerHeight)
                .background(Color.blue)

            ScrollView {
                VStack {
                    ForEach(0..<50) { index in
                        Text("Item \(index)")
                            .padding()
                            .background(GeometryReader { geometry in
                                Color.clear.preference(key: HeaderHeightKey.self, value: geometry.frame(in: .global).maxY)
                            })
                    }
                }
            }
        }
        .onPreferenceChange(HeaderHeightKey.self) { value in
            self.headerHeight = value
        }
    }
}
5. Advanced Usage of PreferenceKey
Beyond simple data passing, PreferenceKey can be used for more advanced scenarios, such as combining values from multiple children or coordinating complex layouts.
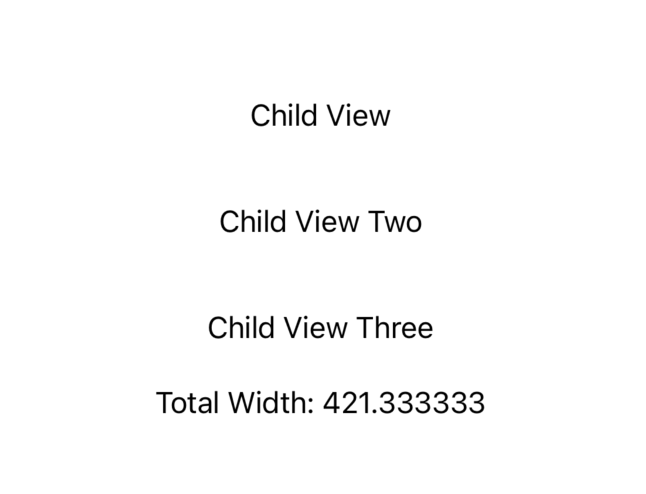
Combining Values from Multiple Children
You can use PreferenceKey to aggregate values from multiple child views. For example, you can calculate the total width of several child views.
struct TotalWidthKey: PreferenceKey {
    static var defaultValue: CGFloat = 0

    static func reduce(value: inout CGFloat, nextValue: () -> CGFloat) {
        value += nextValue()
    }
}

struct ChildView: View {
    var body: some View {
        Text("Child View")
            .padding()
            .background(GeometryReader { geometry in
                Color.clear.preference(key: TotalWidthKey.self, value: geometry.size.width)
            })
    }
}

struct ChildViewTwo: View {
    var body: some View {
        Text("Child View Two")
            .padding()
            .background(GeometryReader { geometry in
                Color.clear.preference(key: TotalWidthKey.self, value: geometry.size.width)
            })
    }
}

struct ChildViewThree: View {
    var body: some View {
        Text("Child View Three")
            .padding()
            .background(GeometryReader { geometry in
                Color.clear.preference(key: TotalWidthKey.self, value: geometry.size.width)
            })
    }
}

struct ParentView: View {
    @State private var totalWidth: CGFloat = 0

    var body: some View {
        VStack {
            ChildView()
            ChildViewTwo()
            ChildViewThree()
            Text("Total Width: \(totalWidth)")
        }
        .onPreferenceChange(TotalWidthKey.self) { value in
            self.totalWidth = value
        }
    }
}
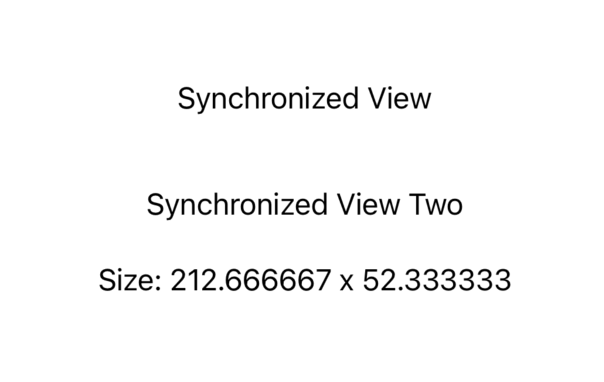
Coordinating Complex Layouts
You can use PreferenceKey to coordinate complex layouts, such as synchronizing the sizes of multiple views.
struct SynchronizedView: View {
  var body: some View {
    Text("Synchronized View")
      .padding()
      .background(GeometryReader { geometry in
        Color.clear.preference(key: SynchronizedSizeKey.self, value: geometry.size)
      })
  }
}

struct SynchronizedViewTwo: View {
  var body: some View {
    Text("Synchronized View Two")
      .padding()
      .background(GeometryReader { geometry in
        Color.clear.preference(key: SynchronizedSizeKey.self, value: geometry.size)
      })
  }
}

struct CoordinatedParentView: View {
  @State private var synchronizedSize: CGSize = .zero

  var body: some View {
    VStack {
      SynchronizedView()
      SynchronizedViewTwo()
      Text("Size: \(synchronizedSize.width) x \(synchronizedSize.height)")
    }
    .onPreferenceChange(SynchronizedSizeKey.self) { value in
      self.synchronizedSize = value
    }
  }
}
6. Unit Testing PreferenceKey
Testing PreferenceKey involves ensuring that the preference value is correctly propagated and updated. Here’s how you can write unit tests for the example above.
import XCTest
import SwiftUI
@testable import YourApp

class PreferenceKeyTests: XCTestCase {

    func testHeaderHeightPreferenceKey() {
        let rootView = ContentView()
        let hostingController = UIHostingController(rootView: rootView)

        // Set up the environment for testing
        hostingController.view.frame = UIScreen.main.bounds
        let window = UIWindow()
        window.rootViewController = hostingController
        window.makeKeyAndVisible()

        // Render the view hierarchy
        RunLoop.main.run(until: Date())

        // Check initial height
        XCTAssertEqual(rootView.headerHeight, 0)

        // Scroll and trigger the preference change
        let scrollView = hostingController.view.subviews.first { $0 is UIScrollView } as? UIScrollView
        scrollView?.contentOffset = CGPoint(x: 0, y: 100)

        // Render the view hierarchy again
        RunLoop.main.run(until: Date())

        // Check updated height
        XCTAssertGreaterThan(rootView.headerHeight, 0)
    }

    func testTotalWidthPreferenceKey() {
        let rootView = ParentView()
        let hostingController = UIHostingController(rootView: rootView)

        // Set up the environment for testing
        hostingController.view.frame = UIScreen.main.bounds
        let window = UIWindow()
        window.rootViewController = hostingController
        window.makeKeyAndVisible()

        // Render the view hierarchy
        RunLoop.main.run(until: Date())

        // Check initial total width
        XCTAssertEqual(rootView.totalWidth, 0)

        // Check updated total width
        RunLoop.main.run(until: Date())
        XCTAssertGreaterThan(rootView.totalWidth, 0)
    }

    func testSynchronizedSizePreferenceKey() {
        let rootView = CoordinatedParentView()
        let hostingController = UIHostingController(rootView: rootView)

        // Set up the environment for testing
        hostingController.view.frame = UIScreen.main.bounds
        let window = UIWindow()
        window.rootViewController = hostingController
        window.makeKeyAndVisible()

        // Render the view hierarchy
        RunLoop.main.run(until: Date())

        // Check initial synchronized size
        XCTAssertEqual(rootView.synchronizedSize, .zero)

        // Check updated synchronized size
        RunLoop.main.run(until: Date())
        XCTAssertNotEqual(rootView.synchronizedSize, .zero)
    }
}
7. Conclusion
Using PreferenceKey in SwiftUI allows for advanced customization and dynamic behavior in your views. By following this guide, you can leverage PreferenceKey to create responsive and interactive user interfaces in your SwiftUI applications.
If you want to learn more about native mobile development, you can check out the other articles I have written here: https://medium.com/@wesleymatlock
Happy coding! 🚀
By Wesley Matlock on July 4, 2024.
Exported from Medium on May 10, 2025.