Forget the stock picker — let’s craft tools that actually feel alive.
When Apple introduced PencilKit, it felt like a gift — smooth strokes, Pencil vs. touch detection, and the out-of-the-box PKToolPicker. But if you’ve ever tried to build a serious drawing app, you’ve probably run into the same wall my buddy James did. He’s working on a production app right now that leans hard on PencilKit.
That got me thinking: what if we ditch Apple’s picker altogether and build our own? A tool palette that feels like it belongs to our app, not someone else’s. This post is that journey — turning PencilKit into something that looks and feels custom, from brushes to erasers to input handling. The source code is on GitHub, but let’s walk through the interesting bits.
Understanding PencilKit’s Real Boundaries
Before we dive in, let’s be straight about what PencilKit actually lets you customize:
✅ What You CAN Control:
- Complete custom tool UI (hide PKToolPicker entirely)
- Tool selection and switching programmatically
- Pen, pencil, and marker with any color/width
- Bitmap and vector erasers
- Undo/redo management
- Drawing state persistence
❌ What You CANNOT Control (Despite What You Might Read Elsewhere):
- Custom brush textures or patterns
- Pressure response curves (PencilKit handles this internally)
- Special effect erasers (blur, pixelate, etc.)
- Real-time stroke filters
- Direct access to the drawing context during strokes
If you need those advanced features, you’ll have to leave PencilKit behind and use Core Graphics or Metal. But there’s still a lot we can do within PencilKit’s sandbox.
Part 1: Hiding the Default Tool Picker & Setting Up
This is where we kick Apple’s picker to the curb. Instead of leaning on PKToolPicker, we’re wrapping PKCanvasView in SwiftUI and taking full control. That means deciding which tool is hot, catching input changes, and making sure Pencil input stays responsive without Apple’s default UI getting in the way.
Inside CustomDrawingView.swift, the canvas gets wired up with our own tool:
struct CustomDrawingView: UIViewRepresentable {
    @Binding var canvasView: PKCanvasView
    @Binding var currentTool: CustomDrawingTool
    @Binding var isUsingPencil: Bool

    func makeUIView(context: Context) -> PKCanvasView {
        canvasView.delegate = context.coordinator
        canvasView.drawingPolicy = .anyInput // Allow both Pencil and finger
        canvasView.backgroundColor = .systemBackground
        canvasView.isOpaque = true // Important: prevents rendering issues
        canvasView.alwaysBounceVertical = false
        canvasView.alwaysBounceHorizontal = false
        return canvasView
    }

    func updateUIView(_ uiView: PKCanvasView, context: Context) {
        uiView.tool = currentTool.pkTool
        uiView.isUserInteractionEnabled = true
    }

    class Coordinator: NSObject, PKCanvasViewDelegate {
        var parent: CustomDrawingView

        func canvasViewDidBeginUsingTool(_ canvasView: PKCanvasView) {
            // This is how we actually detect Pencil vs touch
            parent.isUsingPencil = canvasView.tool is PKInkingTool
        }
    }
}
Important gotcha: Don’t add gesture recognizers directly to the canvas view — they’ll conflict with PencilKit’s internal drawing gestures and cause a black screen during drawing. Trust me, I learned this the hard way.
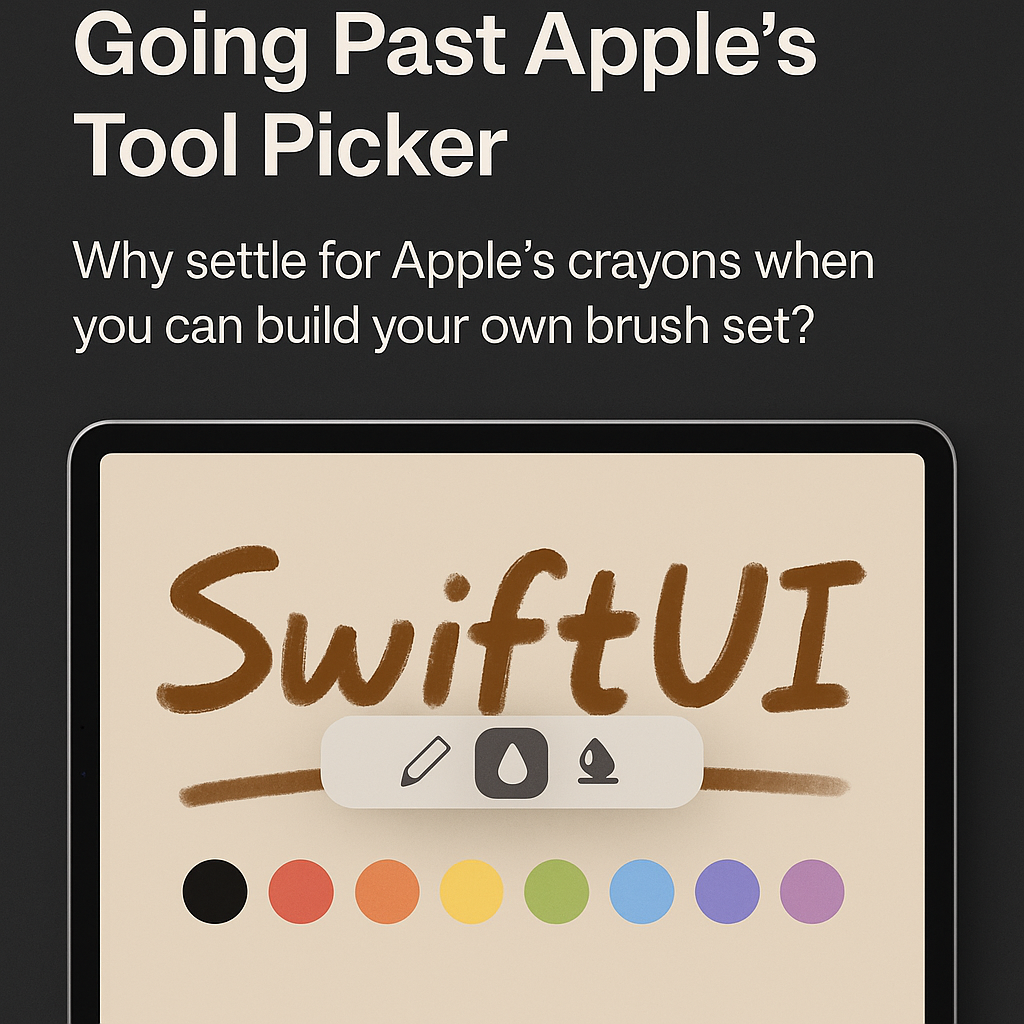
Part 2: Building a Custom Tool Palette
Here’s where the UI starts to feel like our app, not Apple’s. We built CustomToolPalette.swift — a SwiftUI-driven bar that can float, dock, or even go radial if you want.
@Observable
class CustomDrawingTool {
    var type: ToolType = .pen
    var color: Color = .black
    var width: CGFloat = 5.0
    var opacity: CGFloat = 1.0

    var pkTool: PKTool {
        switch type {
        case .pen:
            return PKInkingTool(.pen, color: UIColor(color), width: width)
        case .pencil:
            return PKInkingTool(.pencil, color: UIColor(color), width: width)
        case .marker:
            return PKInkingTool(.marker, color: UIColor(color), width: width)
        case .highlighter:
            // PencilKit doesn't have a highlighter, so we fake it
            let highlighterColor = UIColor(color).withAlphaComponent(0.5)
            return PKInkingTool(.marker, color: highlighterColor, width: width * 2)
        case .eraser:
            return PKEraserTool(.bitmap)
        }
    }
}

struct CustomToolPalette: View {
    @Bindable var tool: CustomDrawingTool
    @Binding var isUsingPencil: Bool

    var body: some View {
        VStack(spacing: 12) {
            // Visual indicator for input mode
            HStack {
                Image(systemName: isUsingPencil ? "applepencil" : "hand.draw")
                Text(isUsingPencil ? "Apple Pencil" : "Touch")
            }
            .padding(4)
            .background(isUsingPencil ? Color.blue.opacity(0.2) : Color.orange.opacity(0.2))
            .cornerRadius(8)

            // Tool selection
            HStack {
                ForEach(ToolType.allCases, id: \.self) { toolType in
                    ToolButton(type: toolType, isSelected: tool.type == toolType) {
                        tool.type = toolType
                    }
                }
            }

            // Properties
            ColorPicker("", selection: $tool.color)
                .labelsHidden()

            Slider(value: $tool.width, in: 1...50)
            Slider(value: $tool.opacity, in: 0...1)
        }
        .padding()
        .background(.regularMaterial)
        .cornerRadius(16)
    }
}
The real win is flexibility. Want a palette you can drag around? Easy. Want it locked at the bottom like Procreate? Just change the layout. State drives everything.
Part 3: Custom Brush Implementation
Here’s where we get creative within PencilKit’s constraints. We can’t add textures or modify pressure curves, but we can simulate different brush effects:
extension CustomDrawingTool {
    var pkTool: PKTool {
        switch type {
        case .pen:
            return PKInkingTool(.pen, color: UIColor(color), width: width)

        case .fountain:
            // Simulate fountain pen with variable opacity
            let inkColor = UIColor(color).withAlphaComponent(opacity * 0.8)
            return PKInkingTool(.pen, color: inkColor, width: width * 1.2)

        case .watercolor:
            // Simulate watercolor with pencil tool + transparency
            let waterColor = UIColor(color).withAlphaComponent(0.3)
            return PKInkingTool(.pencil, color: waterColor, width: width * 2.5)

        case .chalk:
            // Simulate chalk with marker tool
            let chalkColor = UIColor(color).withAlphaComponent(0.6)
            return PKInkingTool(.marker, color: chalkColor, width: width * 1.8)
        }
    }
}
It’s not the same as true custom brushes, but you’d be surprised how much variety you can get from creative combinations of the three base tools.
Part 4: The Dream of Special Effects (And the Reality)
I wanted to build blur and pixelate erasers. The UI shows them, they look great in the palette, but here’s the truth: PencilKit doesn’t support custom erasers. You get bitmap and vector, that’s it.
If you absolutely need these effects, you have three options:
- Post-process the drawing: Export to image, apply filters, import back (laggy)
- Overlay a custom view: Draw effects on a separate layer (complex)
- Abandon PencilKit: Use Core Graphics or Metal (nuclear option)
For our app, we kept the UI but showed a message when these tools are selected:
if tool.type == .blurEraser {
    showAlert("This effect requires Core Graphics implementation")

    // Fall back to standard eraser
    canvasView.tool = PKEraserTool(.vector)
}
Not ideal, but honest.
Part 5: Performance & Persistence
Performance is straightforward with PencilKit — it handles most of the heavy lifting. Just don’t mess with the canvas during drawing:
@Observable
class DrawingStateManager {
    private var undoStack: [PKDrawing] = []
    private let maxUndoLevels = 50

    var canvasView = PKCanvasView()
    var currentTool = CustomDrawingTool()

    init() {
        // Enable Metal rendering (on by default, but be explicit)
        if let metalLayer = canvasView.layer as? CAMetalLayer {
            metalLayer.presentsWithTransaction = false
            metalLayer.framebufferOnly = true
        }
    }

    func saveDrawing() {
        // PKDrawing serializes perfectly
        let data = canvasView.drawing.dataRepresentation()
        UserDefaults.standard.set(data, forKey: "savedDrawing")
    }

    func loadDrawing() {
        guard let data = UserDefaults.standard.data(forKey: "savedDrawing"),
              let drawing = try? PKDrawing(data: data) else { return }
        canvasView.drawing = drawing
    }
}
For tool configurations, just encode your custom tool state to JSON. PencilKit handles all the hard stuff — stroke optimization, texture caching, everything.
Part 6: Accessibility & Input Handling
This is where you respect the way people draw. We detect Pencil vs. touch, show a quick indicator, and keep the palette finger-friendly.
struct InputModeIndicator: View {
    let isUsingPencil: Bool

    var body: some View {
        HStack {
            Image(systemName: isUsingPencil ? "applepencil" : "hand.draw")
                .font(.caption)
            Text(isUsingPencil ? "Apple Pencil" : "Touch")
                .font(.caption)
        }
        .padding(.horizontal, 12)
        .padding(.vertical, 4)
        .background(isUsingPencil ? Color.blue.opacity(0.2) : Color.orange.opacity(0.2))
        .cornerRadius(12)
        .animation(.easeInOut(duration: 0.3), value: isUsingPencil)
    }
}
Make tap targets at least 44x44 points for finger input. When using touch, maybe bump up the default brush size. It’s these little adjustments that make the app feel thoughtful.
The Gesture Conflict Gotcha
Here’s a critical issue that took me hours to debug: if you add zoom or pan gestures to your canvas view, the screen will go black when you draw. The gestures conflict with PencilKit’s internal touch handling.
Don’t do this:
CustomDrawingView()
    .gesture(MagnificationGesture()) // This will break drawing!
    .gesture(DragGesture())          // This too!**Do this instead:**
// Add zoom buttons to your UI
Button("-") { scale = max(0.5, scale - 0.25) }
Button("+") { scale = min(3.0, scale + 0.25) }
Or put gestures on a container view behind the canvas, not on the canvas itself.
What We Actually Built
Let’s be real about what we achieved:
- ✅ Complete custom tool UI that matches our app’s design
- ✅ Smooth tool switching without PKToolPicker
- ✅ Visual feedback for Pencil vs touch input
- ✅ Creative “simulated” brushes using standard tools
- ✅ Proper state management and persistence
- ❌ True custom brush textures (PencilKit limitation)
- ❌ Special effect erasers (PencilKit limitation)
- ❌ Pressure curve customization (PencilKit limitation)
Is it everything we dreamed of? No. Is it way better than the stock picker? Absolutely.
Wrapping It Up
Apple’s stock picker is fine if you’re sketching in Notes. But if you want your app to stand out, you can’t settle for “fine.” This project shows how to take control of what you can control: the UI, the user experience, and the creative use of existing tools.
The limitations are real — PencilKit is a bit of a walled garden when it comes to the actual drawing engine. But within those walls, there’s still room to build something that feels unique. And sometimes, constraints breed creativity.
If you need those advanced features badly enough, consider Metal or Core Graphics. But for most apps, a thoughtful PencilKit implementation will do the job beautifully.
👉 Full source code lives here: [GitHub link]
🫶 Quick thing before you go: If this post gave you a spark or saved you some hair‑pulling, smash that 👏 button (up to 50 times!) so more iOS devs stumble across it. Thanks for reading.