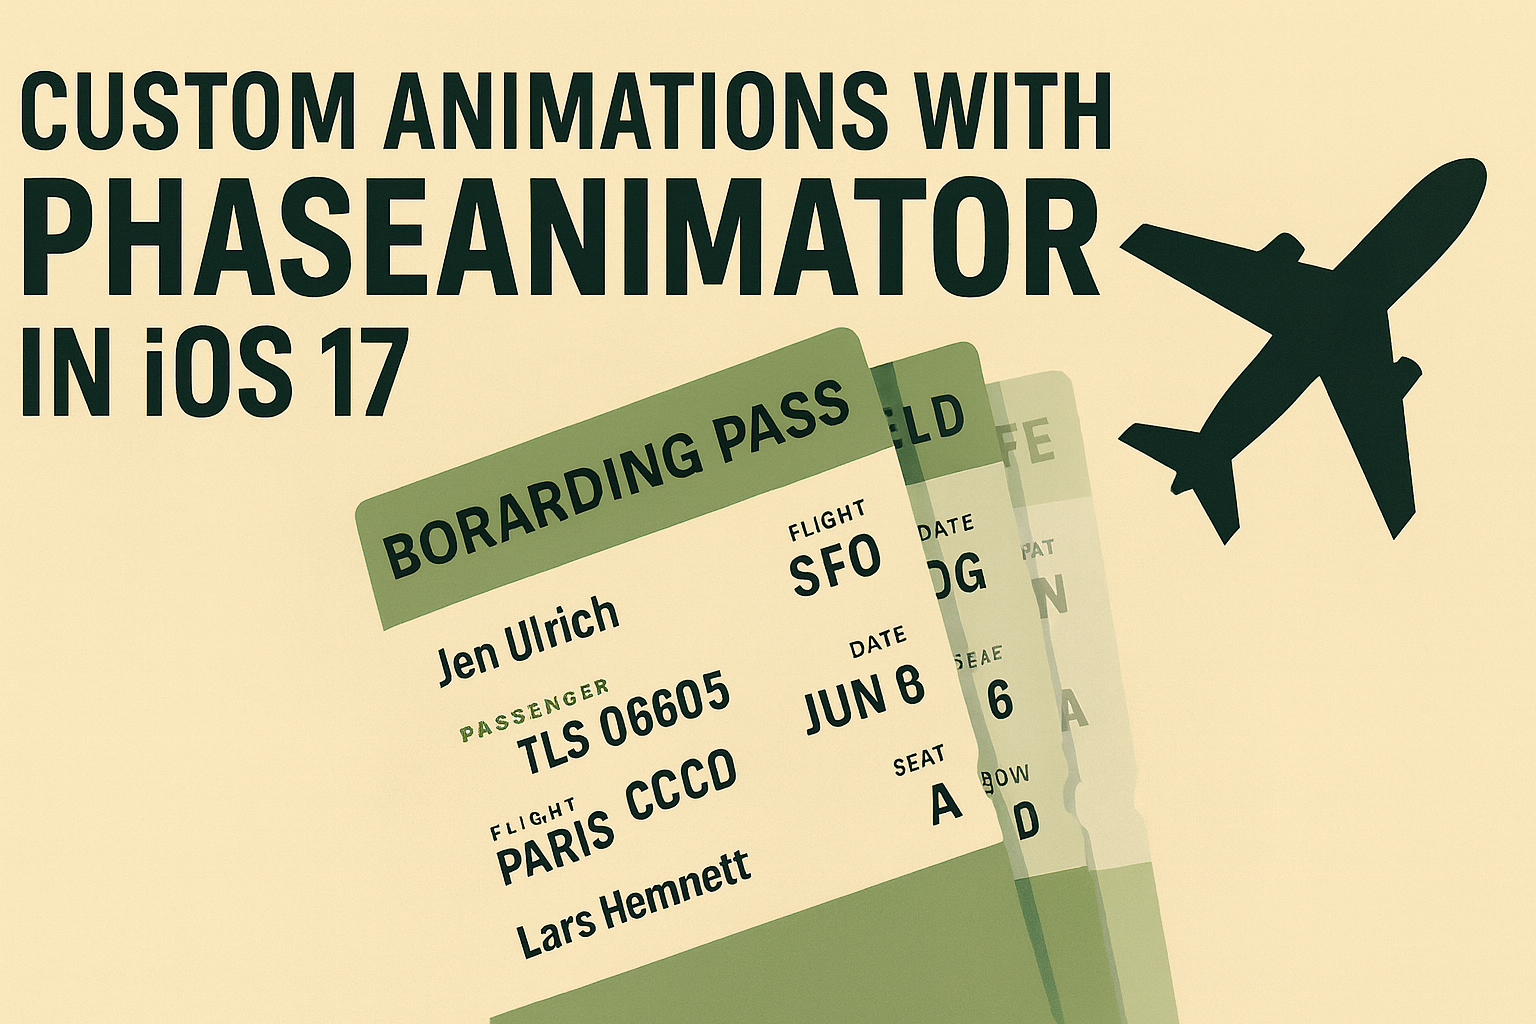
✈️ Welcome Aboard: phaseAnimator with a Boarding Pass
Animations in SwiftUI are fun… until they’re not. Ask me how I know. One minute it’s all buttery transitions — next thing you know, your onboarding flow is glitching like a scratched CD. You’ve got your .transition(), .animation(), .withAnimation {}—and then bam—you hit that wall where you need something a little more controlled. Maybe something driven by state or even gestures.
This is where phaseAnimator steps in. Introduced in iOS 17, it’s like the band’s new drummer—tight, reactive, and not afraid to carry the whole damn show.
This blog walks through a demo flight app that uses phaseAnimator to:
- 💳 Apply shimmer effects on boarding passes
- 🪂 Add subtle parallax when scrolling cards
- 👈 Swipe through a family’s boarding passes using phase state
We’ll also bridge UIKit for those custom easing curves and throw in some unit testing with SwiftTest. All wrapped in an airline theme—boarding passes, seat assignments, and just enough turbulence to keep things interesting.
🫶 Quick thing before we keep going: If this post saves you a few lines of SwiftUI boilerplate or gets you thinking differently about animations, smashing that 👏 button (up to 50 times!) helps it reach more iOS devs. Seriously — thanks for reading.
🎟️ Section 1: Shimmer Effect on Boarding Passes
Let’s kick things off with a subtle shimmer on each card. It draws the eye, feels premium, and gives us an excuse to show off what phaseAnimator can do with a looping animation phase.
struct BoardingPassCard: View {
    @State private var shimmerPhase = 0

    var body: some View {
        ZStack {
            RoundedRectangle(cornerRadius: 20)
                .fill(.thinMaterial)
                .overlay(
                    VStack(alignment: .leading) {
                        Text("Passenger: James Hetfield")
                        Text("Flight: M72")
                        Text("Seat: 6A")
                    }
                    .font(.title3.bold())
                    .padding()
                )
                .padding()
                .phaseAnimator([0, 1], trigger: shimmerPhase) { content, phase in
                    content
                        .modifier(ShimmerEffect(phase: phase))
                }
          }
          .onAppear {
              withAnimation(.easeInOut(duration: 2).repeatForever(autoreverses: false)) {
                  shimmerPhase = 1
              }
          }
      }
  }
The key line is:
.phaseAnimator([0, 1], trigger: shimmerPhase) { content, phase in ... }
This lets us animate across multiple named phases, and gives us control over how views animate into or between those phases. It’s what makes shimmer feel fluid and real, instead of looking like a cheap CSS trick or a PowerPoint fade job.
🛠 Custom Modifier: ShimmerEffect
We’ll define a modifier that uses a gradient + mask animation based on the phase.
struct ShimmerEffect: ViewModifier {
    var phase: Int
    func body(content: Content) -> some View {
      content
          .overlay(
              GeometryReader { geo in
                  let gradient = LinearGradient(
                      colors: [.clear, .white.opacity(0.4), .clear],
                      startPoint: .topLeading,
                      endPoint: .bottomTrailing
                  )
                  gradient
                      .frame(width: geo.size.width * 2)
                      .offset(x: CGFloat(phase) * geo.size.width)
                      .blendMode(.overlay)
              }
              .mask(content)
          )
    }
}
🪂 Section 2: Parallax Transitions with UIKit Curve Magic
Next up: parallax. We want to show each boarding pass in a stack and give it just a bit of responsive depth. Something that screams modern, not 2007 skeuomorphism.
We’ll use phaseAnimator to stagger parallax depths, but here’s the twist: we’ll drive the animation using UIViewPropertyAnimator under the hood.
struct ParallaxCardStack: View {
    @State private var phase = 0

    var body: some View {
        VStack(spacing: -120) {
            ForEach(0..<4) { index in
                BoardingPassCardView(name: passengers[index])
                    .scaleEffect(1 - CGFloat(index) * 0.05)
                    .offset(y: CGFloat(index) * 20)
                    .phaseAnimator([0, 1], trigger: phase) { content, phase in
                        content
                            .rotation3DEffect(
                                .degrees(Double(phase) * 5),
                                axis: (x: 1, y: 0, z: 0),
                                anchor: .center
                            )
                    }
            }
        }
        .onAppear {
            let animator = UIViewPropertyAnimator(duration: 1.0, dampingRatio: 0.8) {
                phase = 1
            }
            animator.startAnimation()
        }
    }
}
SwiftUI’s built-in curves? Meh. UIKit’s where the fun begins. With UIViewPropertyAnimator, you can fine-tune the curve, damping, and springiness until it feels buttery smooth.
👈 Section 3: Swipe to Phase — Onboarding or Multi-Pass
Let’s give the user control. Think of this like an onboarding experience, but each “screen” is a boarding pass for a different family member.
struct SwipePhaseView: View {
    @State private var currentPhase = 0
    private let maxPhase = 3

    var body: some View {
        ZStack {
            ForEach((0...maxPhase).reversed(), id: \.) { index in
                BoardingPassCardView(name: passengers[index])
                    .opacity(currentPhase == index ? 1 : 0)
                    .phaseAnimator((0...maxPhase).map { $0 }, trigger: currentPhase) { content, phase in
                        content
                            .scaleEffect(currentPhase == index ? 1 : 0.9)
                    }
            }
        }
        .gesture(
            DragGesture()
                .onEnded { value in
                    if value.translation.width < -50 && currentPhase < maxPhase {
                        currentPhase += 1
                    } else if value.translation.width > 50 && currentPhase > 0 {
                        currentPhase -= 1
                    }
                }
        )
    }
}
We use .phaseAnimator here to define the current view’s state, and combine it with a swipe gesture. Lightweight, intuitive, and no extra dependencies.
✅ Section 4: Testing phaseAnimator with SwiftTest
Let’s write a quick test to validate our swipe logic and phase transitions.
@Suite struct PhaseStateTests {
    @Test func canSwipeBetweenPhases() {
        var currentPhase = 0
        let maxPhase = 3
        // Simulate swipes
        currentPhase += 1 // right swipe
        #expect(currentPhase) == 1
        currentPhase += 1 // another right swipe
        #expect(currentPhase) == 2
        currentPhase -= 1 // left swipe
        #expect(currentPhase) == 1
        currentPhase = max(0, min(currentPhase, maxPhase))
        #expect(currentPhase) <= maxPhase
        #expect(currentPhase) >= 0
    }
}
No fancy animation in tests — but the logic better hold. That’s the whole point.
🎸 Wrap-up: phaseAnimator That Rocks
phaseAnimator isn’t some novelty. It’s the real deal for gesture-based control, looped effects like shimmer, and UIKit-style transitions. Whether you’re jazzing up an onboarding flow or making your app feel like a first-class upgrade, it’s worth learning.
This demo app gave us:
- 💡 A shimmering boarding pass
- 🪂 Stacked parallax transitions with UIKit control
- 👈 Swipe-to-change interactive phase animations
- ✅ Phase state logic unit tested with SwiftTest
And yeah — your passengers were James, Lars, Kirk, and Cliff. They’ll be boarding M72 nonstop to San Francisco.
👋 Ride the lightning, not the main thread.
🎯 Bonus: More Real-World iOS Survival Stories
If you’re hungry for more tips, tricks, and a few battle-tested stories from the trenches of native mobile development, swing by my collection of articles: @wesleymatlock.
These posts are packed with real-world solutions, some laughs, and the kind of knowledge that’s saved me from a few late-night debugging sessions. Let’s keep building apps that rock — and if you’ve got questions or stories of your own, drop me a line. I’d love to hear from you.